Written by Barkman Concrete Published on February 20th, 2024
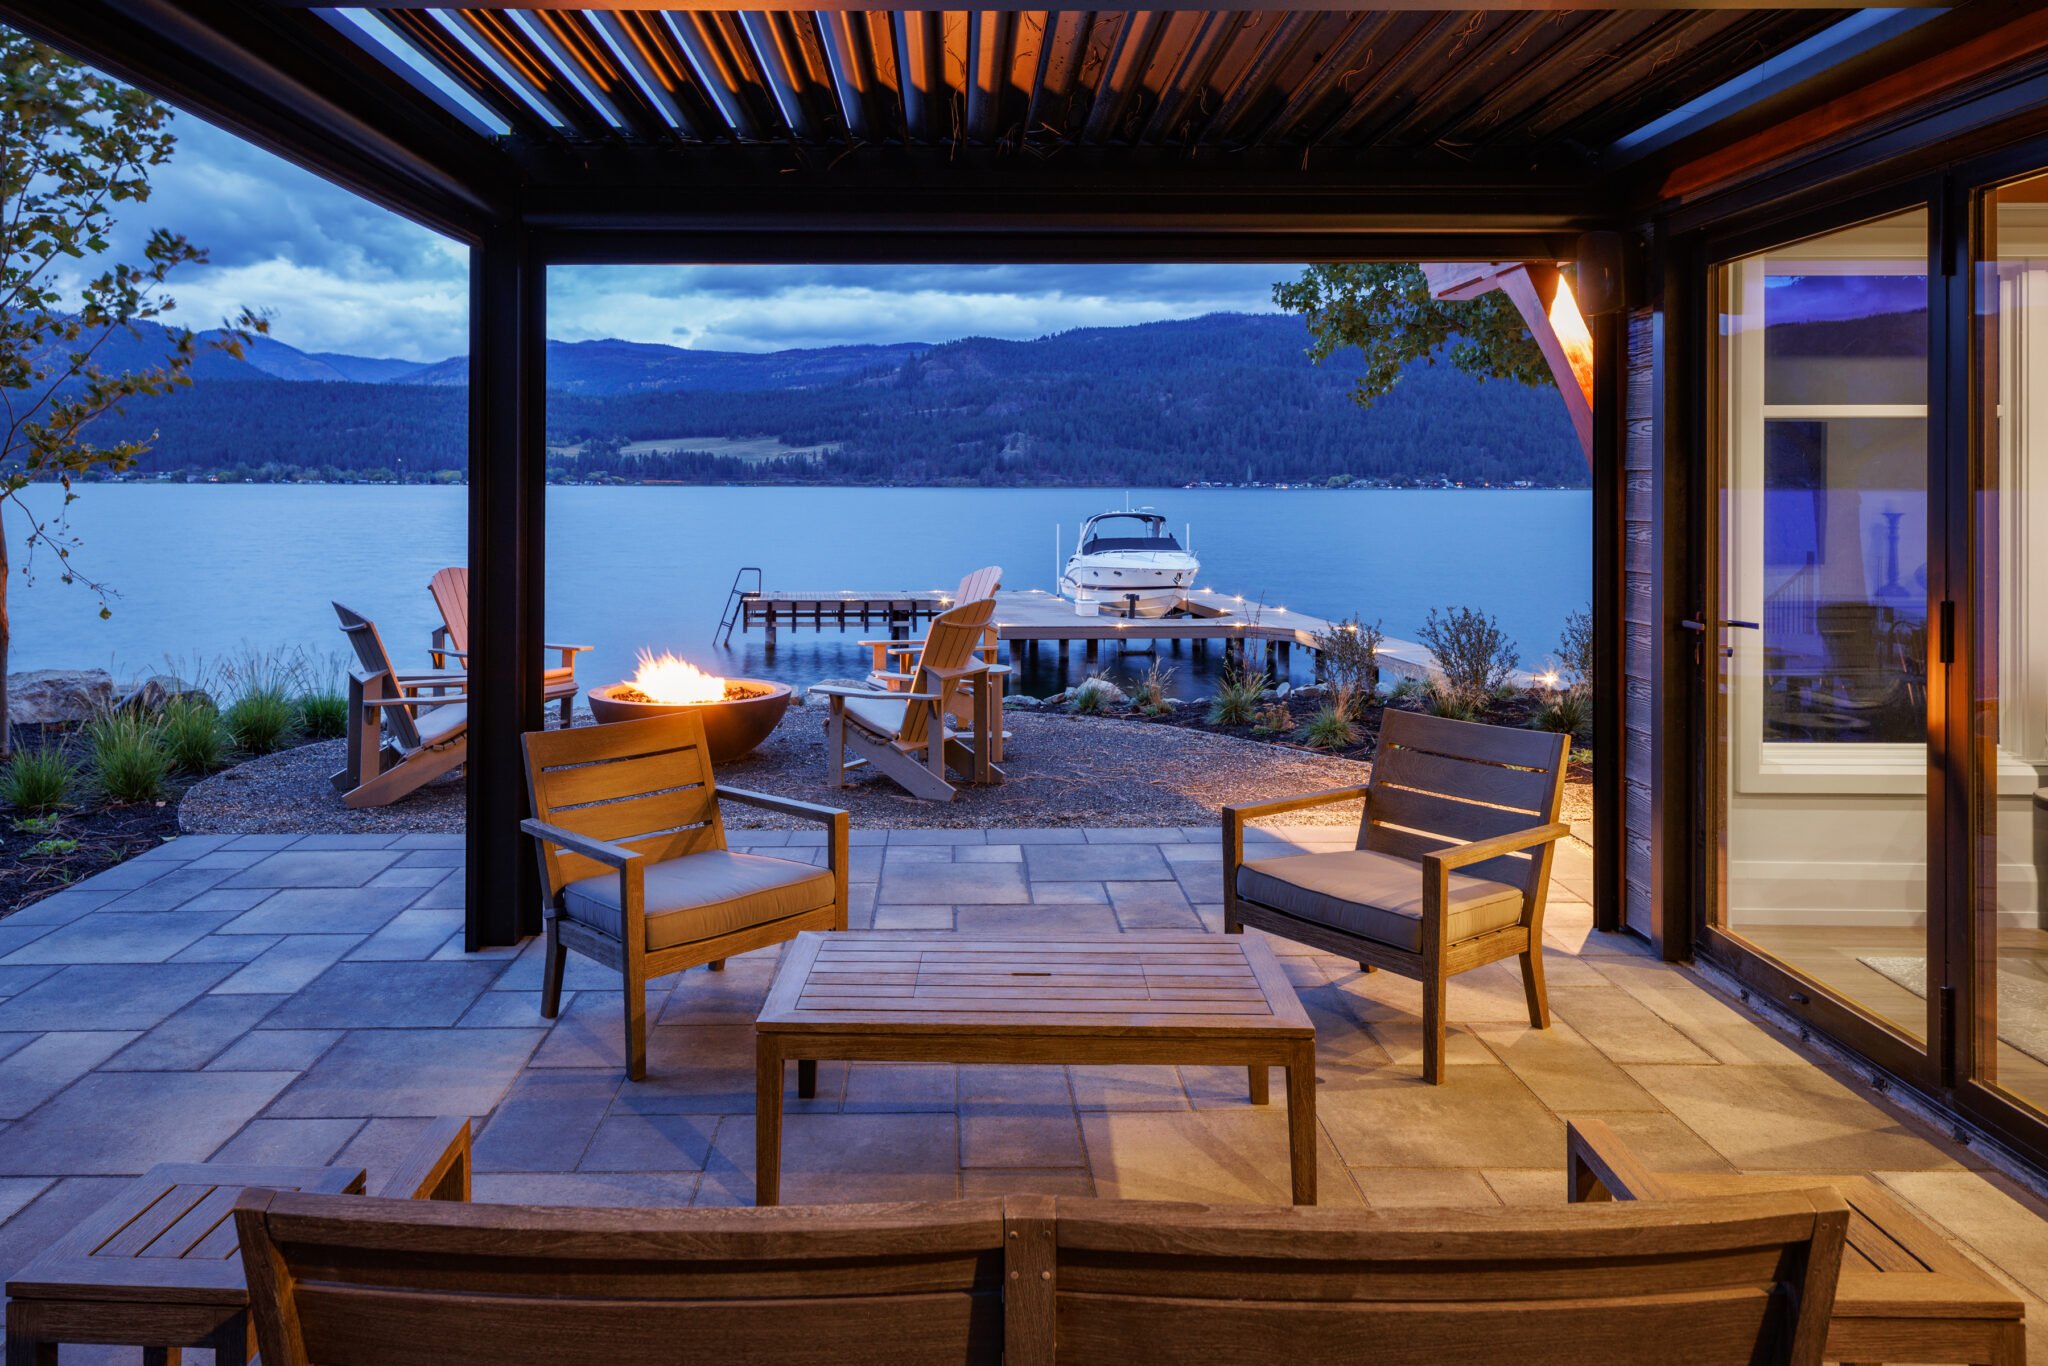
Planning a landscape project can be a daunting task. Approaching it in phases can help make the project more manageable. This guide summarizes the different elements involved in planning.
1. Get Inspiration From Designs You Love
What do you want? This is where you should begin. Here are some questions to ask yourself.
- What styles do you like? Traditional, Modern, Rustic, Contemporary?
- What do you want to feature? Patio, Pool, Driveway, Walkway, Garden Wall, Fireplace, Outdoor Kitchen?
- What are your must-haves? Do you need wheelchair access? Is bright lighting essential?
These are good questions to begin with. You may be unsure of what you want, and that is okay. Start looking at pictures and save what you like. We recommend exploring designs on Pinterest or Houzz. Both sites make it easy to find fresh ideas and save them for inspiration.
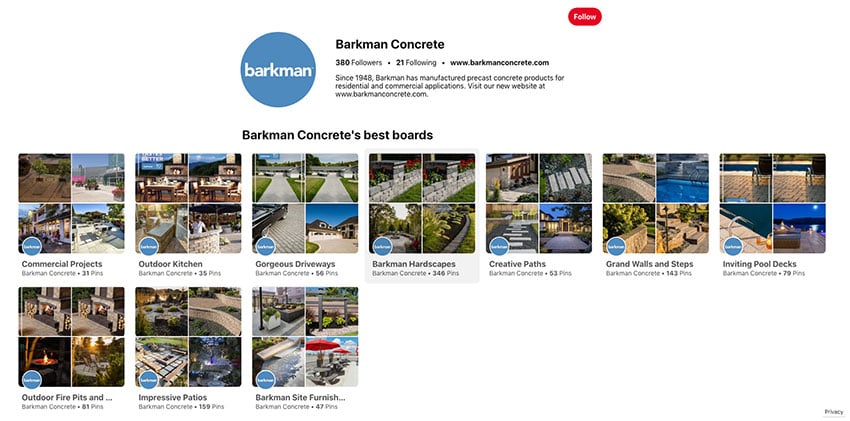
Pinterest allows you to create a pinboard and save pins (images) to it. There is no limit to the number of pinboards you can create, so don’t hesitate to start multiple pinboards for each distinct style you like. Our Barkman Pinterest page features boards for landscape kits, driveways, creative paths and more. Houzz uses a similar concept called idea books.
2. Find Products That Fit With Your Style
Once you pick the style you like, the fun work of choosing individual products begins.
Bookmark product pages that match your style, or browse our catalogue online to get ideas. You can also pick up a physical copy from one of our landscape dealers. Scribble in the pages or use sticky notes to mark the products you love.
You might also come across products that you really love but don’t match the style you want. Be creative. If you think you can make them work together, go for it! However, it is usually better to work within the style you’ve chosen to create consistency in your final design.

Dare to dream. Don’t hold back in this stage. If you could do anything with your dream project, what would it be? You are not spending money yet, so don’t worry about logistics. This step is valuable even if you know your dream backyard is not in your budget. It allows you to account for future expansions so you do not build yourself into a corner and make later additions impossible.
After you have your dream plan, the hard decision begins. We recommend breaking your project into sections. For example, you might want a fire pit with a small patio, a pool area, and maybe a few garden boxes. These become three separate sections of your project. Now rank them in order of what you want the most.
Now you have them ranked, you can decide if you want to break it up over a couple of years or whether it makes sense to complete it all at once.
3. Creating a Plan For Your Space
Now that you have the style that you like and the products that you want to use, it’s time to start designing!
You can take two different approaches. For some, now is the time to pick up the phone and call a landscape designer or a contractor that offers design services. Talk with them about what you want and how your vision can be brought to life. If you want to go this route, skip to section 4 for some tips for hiring a professional.
For those of you who want to take a more hands-on approach, take a look at a tool that one of our partners has developed for us. It’s an advanced paver & slab calculator which can also serve as a handy landscape designer and visualizer.
Presenting our new Advanced Paver Calculator
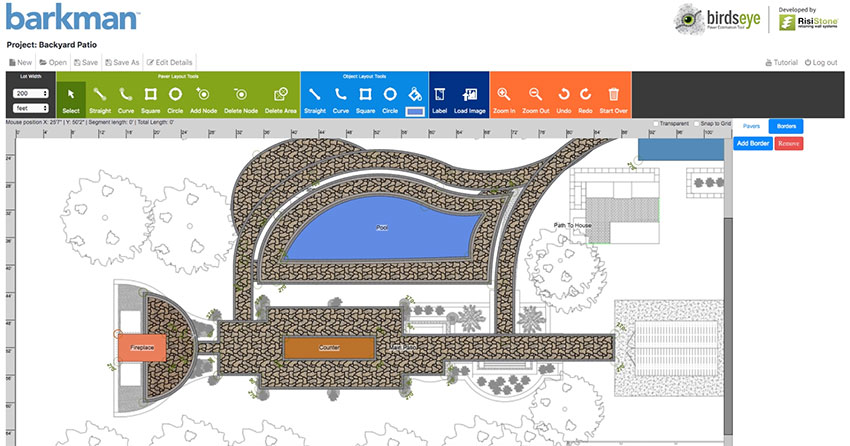
Creating complex designs is easy with our new RisiStone Advanced Paver Calculator. The first thing you will appreciate with this tool is how simple the layout is. You’ll primarily work with the green paver layout tools and light blue object layout tools. The green menu is for laying down anything that is a paver or a slab, and the light blue menu is for placing objects that will be subtracted from your paver or slab, such as a pool.
We loved using this tool so much that we created four short tutorials to help people get started. You can watch the tutorials with the link below.
We recommend watching the tutorials before jumping in, but if you’re ready to use it, you can access it here. Oh, and did we mention it’s web-based, so you don’t need to download anything?
Begin Designing Your Project
4. Implement Your Plan
So you’ve made a plan and are now ready for the final stage — implementation! This stage can also be helpful to finalize the decision on whether it makes sense to complete the whole project at once or whether to split it up into stages. Assess the project’s scope on whether you plan on doing it yourself or hiring someone to do it for you. Generally speaking, the labour cost is 60-80% of your project cost. Getting the price of the Barkman products that you want for your project can be done through your nearest Barkman dealer.
If you decide to hire a contractor to help with your project, here are a few tips to help make the process go smoothly.
- Communication is key. Clearly explain what you want, and ensure that they understand. What are their payment terms? Are you okay if the project goes over budget? Do they offer insurance? Who will be my contact person? When will be the start and end date? Even if a question seems obvious, it is important to communicate it.
- Ask for references for previous jobs. Ideally, see if you can talk to some of their previous clients and ask them what their experience was. How many years have they been in business? If they can provide certifications as well, that’s a plus.
- Look at their previous work. Many contractors have Instagram accounts and post photos regularly. Do you like their work? Does it fit with your taste and the home project you envisioned?
- Find the right balance of budget and quality, especially when it comes to assessing quotes. This is something that many people struggle with, getting the cheapest quote and expecting the best quality. In assessing contractor costs, you should consider what is being built. If you’re building a paver base beneath a woodshed, then an affordable option might make sense. In contrast, if you have a 10-foot high retaining wall built, you should be willing to pay for expertise.
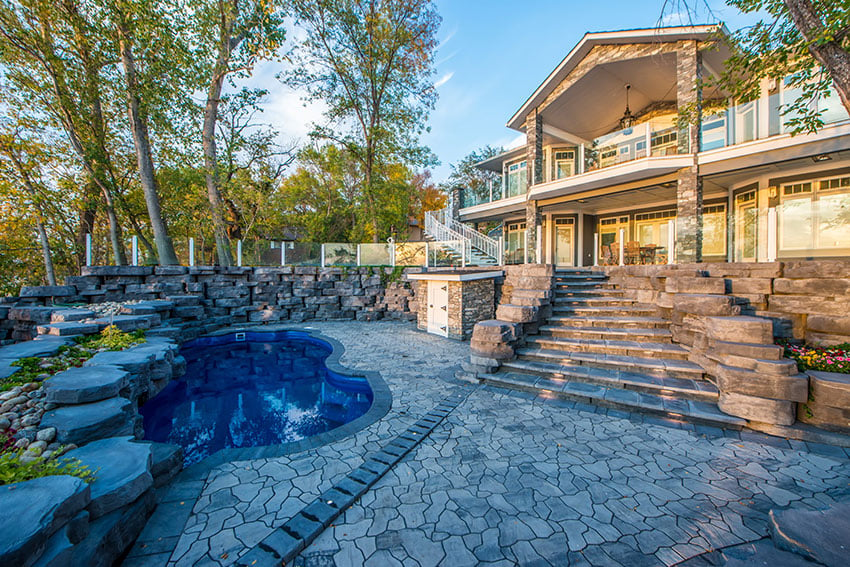
If you are interested in doing the project yourself, or if you want to get some product pricing and more information before going ahead with your project, we recommend that you visit your nearest Barkman dealer.
Here are some tips on how to maximize your dealer visit.
- Do your research. Most dealers offer a wide array of products and might not be specialized in what you are looking for. If you bring a list of what you want, your experience will be much more seamless. You can print out the results of our paver & slab calculator or our other calculator tool to help guide the dealer on what products you want to purchase.
- Check out their in-store displays. This will give you a first-hand look at the products you’ve researched, and you can assess whether this product is the right fit for your project
- Get printed resources if you wish. Some dealers have installation guides and catalogues that you can take home to help with your project planning. Online versions of our Barkman resources are also available for you.
- Ask questions. Our dealers are available to help.
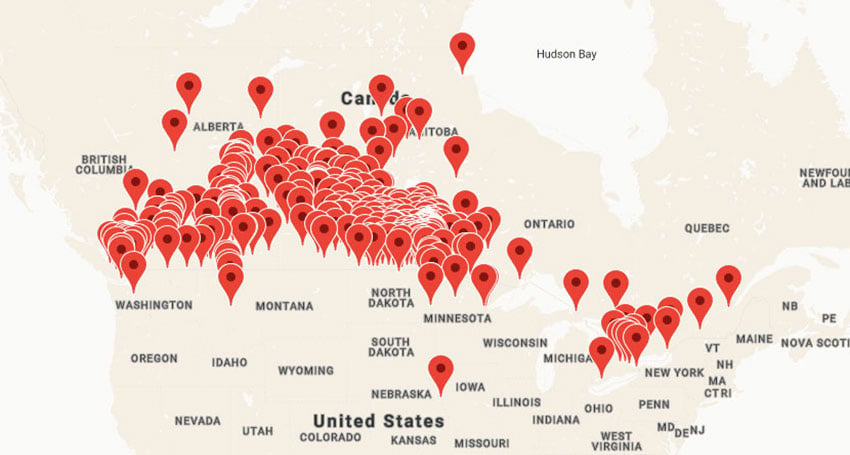
- Finding a dealer near you is easy with our dealer locator
With these tips in your arsenal, we trust that you will make the best of planning your landscape project. Remember to enjoy the process, even though it can sometimes feel a bit intimidating at first. If you take it piece by piece, it will feel much more manageable.


