


Written by Barkman Concrete Published on September 19th, 2021
BASIC STEP INSTALLATION NOTES
FOR:
MEASUREMENTS
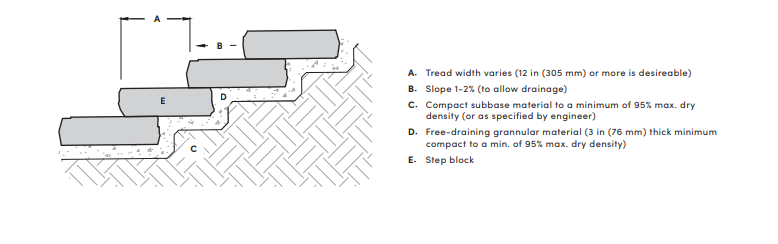
Begin the step installation process by measuring the total rise required and calculating the number of steps to be used. Each step has a 5-1/2 in (140 mm) or 7 in (178 mm) rise, but should be sloped approximately 1/2 in (13 mm) such that the back of the step is higher than the front of the step. This slope will facilitate surface water drainage. With appropriate sloping, the net rise of each step is 6 in (152 mm) or 7-1/2 in (191 mm). Divide the total rise by 6 in (152 mm) or 7-1/2 in (191 mm) to get the number of steps required.
CALCULATIONS
Next, calculate the tread width. Generally, when the grade allows, a 12 in (305 mm) or wider tread is desirable. To calculate the tread width, divide the total allowable horizontal run minus the width of the top step, by the number of steps minus one. The one less will account for the top step.
Consider the following example:
Total rise = 42 in, Total horizontal run = 108 in, Width of top step = 24 in, Rise of steps = 5-1/2 in
Number of steps = 42 in ÷ 6 in/Step = 7 Steps
Tread Depth = (108 in-24 in) ÷ (7-1) = 14 in Tread Depth
Metric Calculation: Total rise = 1067 mm, Total horizontal run = 2743 mm, Width of top step = 610 mm, Rise of steps = 140 mm
Number of steps = 1067 mm ÷ 152 mm/step = 7 steps
Tread depth = (2743 mm-610 mm) ÷ (7-1) = 356 mm tread depth
EXCAVATION
Excavate and grade the area for the first step. Steps should be placed on at least 3 in (76 mm) of free draining soil, such as sand or pea-stone. Compact soil to a minimum of 95% Standard Proctor.
PLACEMENT
Place step with either forks or straps using a small excavator or skid-steer to lift the piece into place. Practice safe handling procedures during this process.
FILL
Fill behind each step with free draining soil and compact to 95% standard proctor. Remember to slope fill to allow for proper drainage when next step is placed. Continue placing steps in this manner until finish grade is reached.
GENERAL NOTES FOR STEP SECTION
• Final designs for construction must be prepared by a registered professional engineer using the actual conditions of the proposed site and loads.
• Block size and placement shown are for reference only, individual steps vary with installation pattern
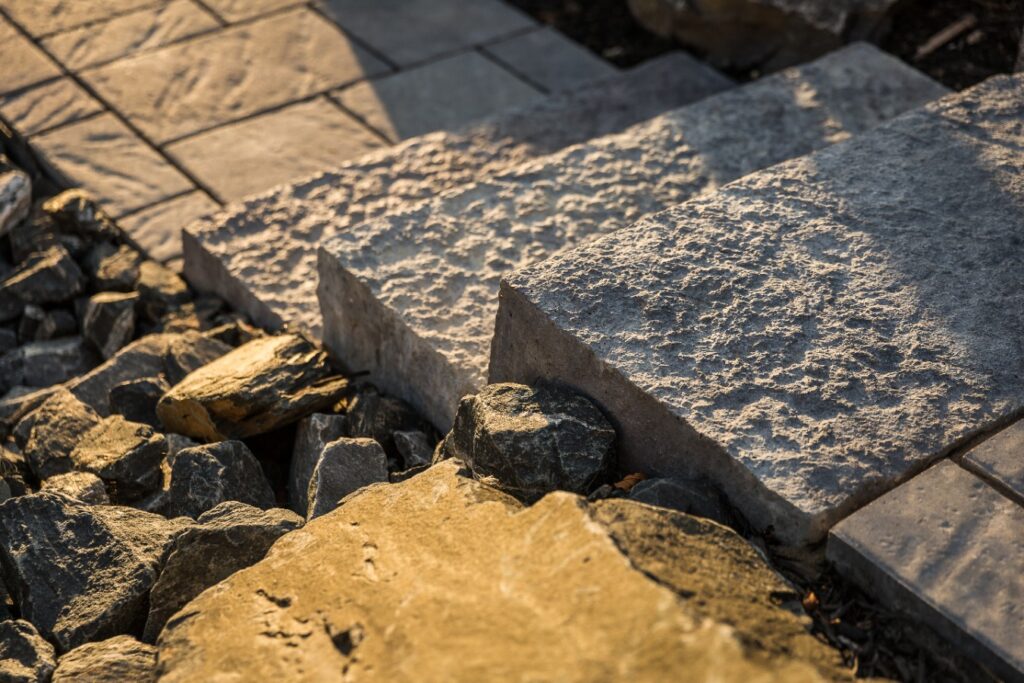
IRREGULAR STEPS
FEATURES
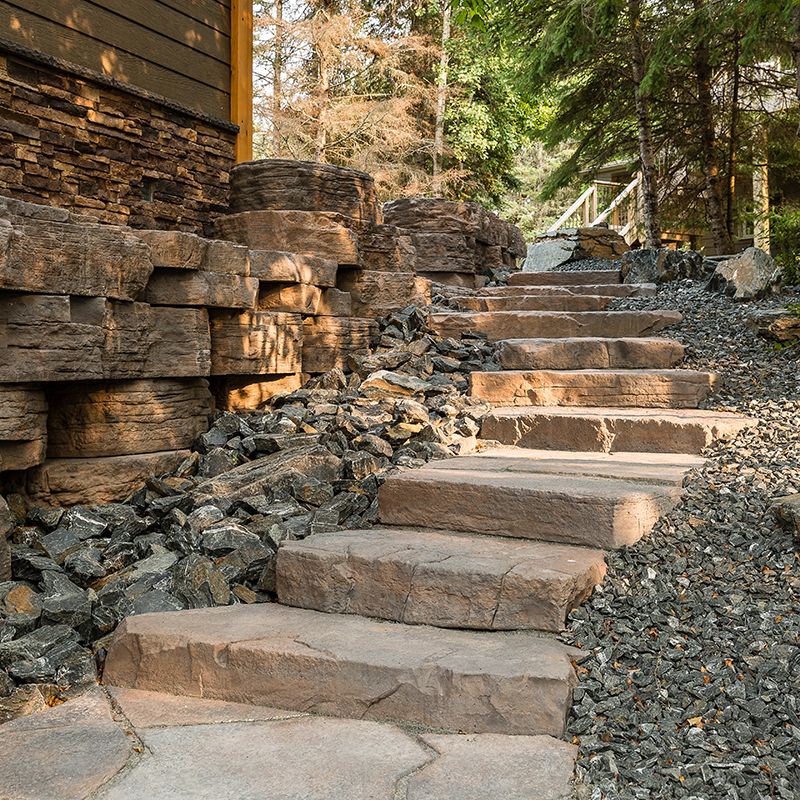
· Stone-like shapes and textures create inviting walkways
· Consistent rise equals fast installation and safe end result
· Quality materials and long term durability
· Multiple natural color blends available
· Complimentary products offer a variety of creative possibilities
DIMENSIONAL STEPS
FEATURES
· Stone-like shapes and textures create inviting walkways
· Consistent rise equals fast installation and safe end result
· Quality materials and long-term durability
· Multiple natural color blends available
· Complimentary products offer a variety of creative possibilities