


Written by Jason Plett Published on July 21st, 2018
Adding a paved patio to your home is an excellent way to get the most out of your backyard. It may seem daunting at first, but with careful planning, building a patio is achievable, even if you don’t have much experience. Here is how to correctly install a Barkman patio in your backyard. You can also download our Paver Installation Guide and follow along from there.
1. Planning
Once you have chosen your location, it’s time to do some preparatory design work. There are plenty of online tools and software designed for hardscape planning. Our personal favourite is the RisiStone Advanced Paver Calculator. It’s simple to use and doesn’t need to be downloaded.
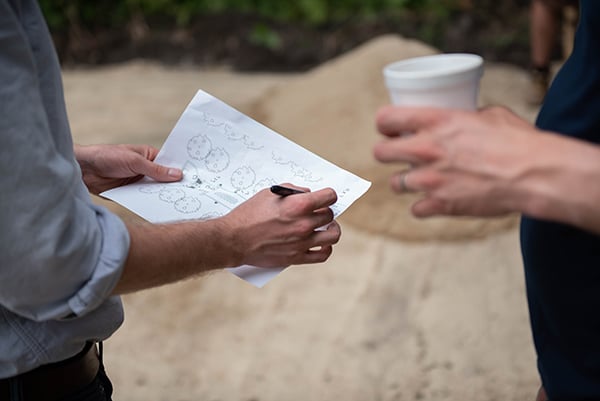
It’s also helpful to mark out the dimensions of your future patio with stakes and string to get an idea of its size relative to your backyard. We also recommend placing your furniture within the marked space to see how it fits. You may find that you need more room than you initially thought.
In this phase of the process, it is also essential to pick which products will be used. Choose materials that complement the style and colour of your home while serving the function of your space. For instance, Grand Flagstone looks beautiful, but its uneven surface may not work well with an outdoor dining table. Our website, catalogues, and social media platforms are a great place to look for inspiration. There are hundreds of pictures showcasing a variety of styles and design configurations. Once you have done the research and have your products picked out, move on to step 2.
2. Site Prep
Start with the removal of the layer of soil where grass and other decomposable organic material is found. It’s essential to remove all organics in the area before placing any materials because the organic matter will decompose, creating gaps that will cause your patio to sink and shift. You can remove the organics by digging them up with a shovel, or if you have quite a large area, you can hire a skid-steer operator to remove them. Try to keep the dirt as level as possible. It makes building a base more manageable down the line.
3. Building a Base
It’s time to begin laying the base of your patio. This is a critical step of the process and can dramatically affect the final product if done incorrectly.
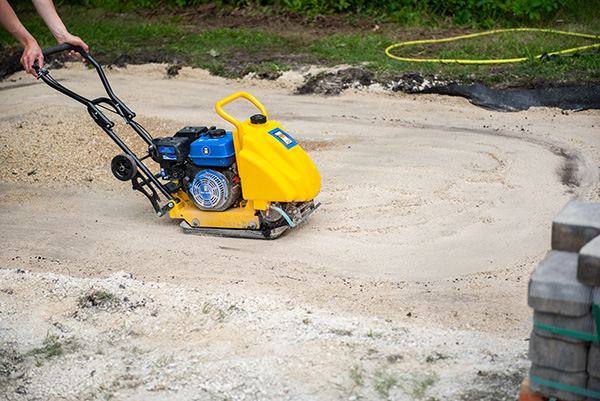
We recommend a minimum depth of 6 inches of base material placed beneath the patio. The width of your base should also extend past the patio’s edges by at least 6 inches. This material itself should be ¾-down crushed stone and should be laid in three 2-inch intervals. Compact every 2-inch layer with a vibrating plate compactor, wet it down and compact it again. Continue to adjust the level as you build up your base. Once this stage is complete, there is very little chance to correct the level if it is off, so take care to do it correctly.
You can also explore using Gator Base as an alternative way to prepare a base for your patio. Here are more details on how to install Gator Base as well as a video guide.
4. Screeding
Once you have finished building up your six inches of compacted ¾-down crushed stone, it is time to complete the final stage before laying the patio.
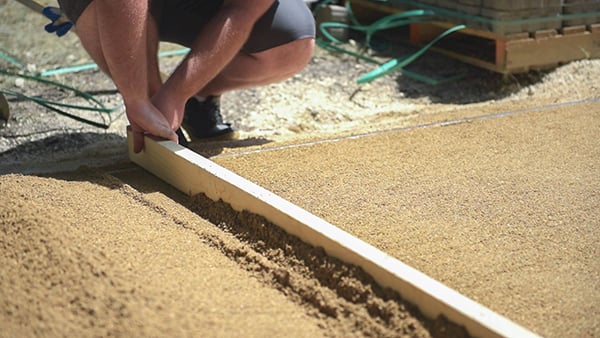
This stage, called screeding, involves creating a perfectly level and smooth surface to lay the patio. To accomplish this, you need to apply 1 inch of coarse bedding sand across the whole crushed stone base. To smooth the sand, use two 1-inch outside-diameter steel pipes and place them on top of the crush stone base. Level the two pipes with each other using a 2×4 laid across them. Once the two pipes are levelled, run the 2×4 from one end of the pad to the other, smoothing out the sand at the exact height of 1-inch pipes.
If there are pockets that form in the sand, apply more sand and re-level them with the 2×4. This is the last chance you have to level your patio area, so be sure that the sand is layer is correctly levelled and smooth. Once this layer is fully screeded, carefully remove the steel pipes without disturbing the sand layer you just worked hard on levelling.
5. Laying Pavers
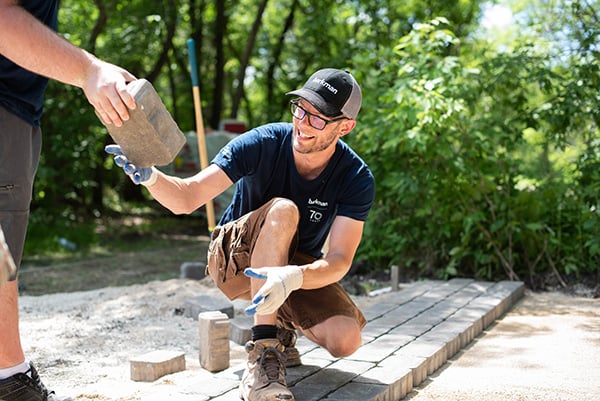
Laying pavers or paving stones should go relatively quickly if the laying pattern was figured out during the planning stage. However, it may take some time to get comfortable with the pattern and laying process, so don’t rush it.
To lay the pavers, take care to correctly follow the pattern and keep each course of the pattern straight. Make sure that when laying them down, you do not disturb the sand. Place them carefully downward, keeping the paving stones level as you lower them. This step ensures that your patio is level and reduces the risks of shifting in the future. As you lay the patio, you may come across the grooves left by the screeding poles. Fill in the grooves with sand and use a small hand trowel to level the sand carefully.
6. Finishing Touches
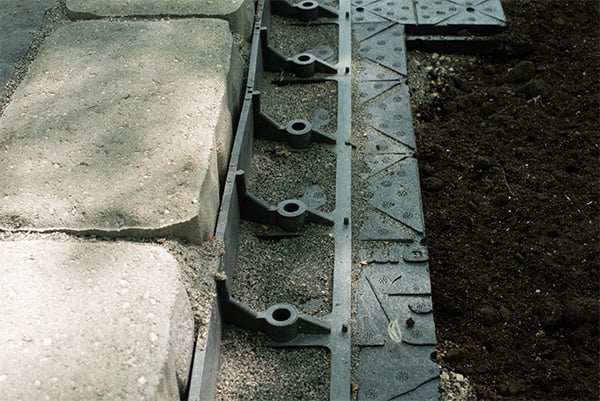
Once the pavers are placed, there are two things left to do. The first thing is to apply Snap Edge around the perimeter of your patio. Snap Edge keeps the patio from shifting from side to side and prevents the sand layer from washing out. Install it by placing it up against the patio’s sides on the crushed stone base and nail it into place. The top of the edging should lie about a half-inch below the top of the pavers and will eventually be covered with topsoil.
The final step is applying polymeric sand. Polymeric sand is designed to fill the gaps between the pavers to keep them solidly in place. Polymeric sand also prevents weed growth while still allowing for proper water drainage. To apply, dump the sand out on the patio in small amounts and sweep the sand into the pavers’ gaps. Continue filling the gaps until the sand is a 1/8th of an inch below the pavers’ chamfer. Compact the patio using a plate compactor with a rubber pad to allow the sand to settle.
Once complete, wet down the patio with a gardening hose. Water each 50 square foot section for 60 seconds. Take care not to wash the sand from the joints or flood the patio. Once the entire patio is wet, let it dry for at least 24 hours. This drying period allows the polymers within the sand to set, creating a hard finish. When it has dried, the patio is ready to be used.
Following these steps should allow you to create a patio in your backyard, ready to be enjoyed by the whole family. Make the most out of your summer this year and build a patio!